
Snow Globe Craft for Kids: Let’s Create Magical Winter Worlds!
Hey there, crafty parents and guardians! Are you ready to embark on an enchanting creative journey with your little ones? Get ready to dive into the world of snow globe crafts for kids. It’s the perfect activity to keep the young minds engaged, spark their imagination, and let them unleash their artistic talents. We’ll guide you through every step, from crafting a charming snow globe to answering your burning questions about this delightful project. So, grab your glitter, glue, and jars – it’s time to make some magic happen and let’s get into: Snow Globe Craft for Kids!
Introduction
Snow globes are a magical, timeless delight. They encapsulate a tiny, wintry universe within a glass dome. Creating these miniature winter wonderlands is an incredible bonding experience that will leave both you and your child with treasured memories. Let’s embark on a snowy adventure, shall we?
Materials You’ll Need
Before we start crafting, let’s ensure you have all the necessary materials at your fingertips. Here’s a quick checklist:
- Glass jars with lids
- Distilled water
- Glycerin
- Glitter
- Figurines or miniatures
- Waterproof glue
- Craft foam or felt
- Decorative ribbon
- Permanent markers
Now that you’ve got everything ready, let’s move on to the nitty-gritty details.
The Step-by-Step Guide
Let’s get into the heart of crafting snow globes with your kids. This guide will break down the process into easy-to-follow steps that guarantee a gleaming result.
Step 1: Choose Your Jar
Begin by selecting a glass jar. The jar’s size will determine the scale of your snow globe. Make sure it’s clean and free of any labels.
Step 2: Glue the Figurine
Pick a figurine or miniature toy that suits your winter scene. Glue this onto the inside of the jar’s lid. Allow it to dry thoroughly. This is where your child’s creativity can shine – whether it’s a tiny snowman, a miniature penguin, or a charming little cabin.
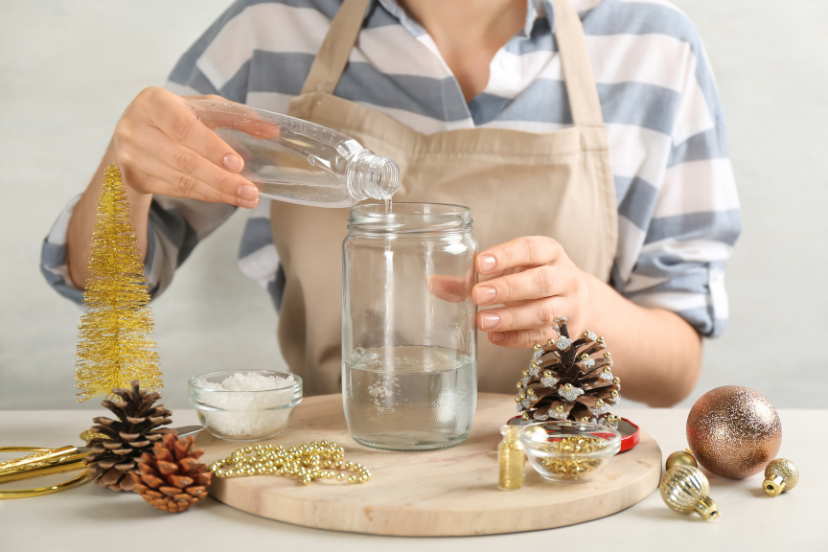
Step 3: Add the Snow
Now, let’s create that enchanting snowfall effect. Fill the jar with distilled water, leaving a little space at the top. Add a few drops of glycerin (around 1-2 teaspoons) to slow down the glitter’s descent. Sprinkle in your favorite colored or iridescent glitter. This is where the magic starts to happen!
Step 4: Seal the Jar
Carefully screw the lid onto the jar, ensuring it’s tightly sealed. Make sure there are no leaks – you want your snow globe to last for a long time.
Step 5: Decorate the Base
Time to get creative with the base. Cut a circle from craft foam or felt that matches the size of your jar’s lid. Decorate it with markers or stickers. Glue it to the bottom of your jar. This will provide a neat, colorful base for your snow globe.
Step 6: The Finishing Touch
For that extra flair, tie a decorative ribbon around the base of the jar. It adds a charming touch to your snow globe’s appearance.
Step 7: Shake and Enjoy
Now, here’s the best part. Shake your snow globe gently, and watch the magic unfold. It’s like having your very own winter wonderland in the palm of your hand!
Snow Globe Craft for Kids: Let’s Address Some FAQs
Got a few burning questions about making snow globes with your kids? We’ve got you covered.
FAQ 1: Can I use any jar for this craft?
Absolutely! You can use any glass jar with a lid, just ensure it’s clean and free of labels.
FAQ 2: What can I use as figurines?
The options are endless! Miniature toys, action figures, plastic animals, or even tiny holiday decorations can work.
FAQ 3: How much glitter should I use?
It depends on your personal preference. Start with a little and add more if needed. You can mix different types of glitter for a unique effect.
FAQ 4: Is this project suitable for younger kids?
This craft is best suited for kids aged 6 and above, as it involves small parts and some careful gluing. Always supervise them during the process.
FAQ 5: Can I make themed snow globes?
Absolutely! You can create snow globes for any occasion or season – not just winter. Think birthdays, holidays, or even underwater scenes.
FAQ 6: How do I store the snow globe?
To keep your creation looking its best, store it away from direct sunlight and extreme temperatures. This will preserve the water and prevent discoloration.
Conclusion
Creating snow globe crafts with your kids is a fantastic way to spend quality time together, spark their creativity, and nurture a love for DIY projects. Remember, each snow globe is unique and reflects your child’s imagination and personality. So, what are you waiting for? Gather your supplies, follow our step-by-step guide, and get ready to shake up some magic. You’re about to embark on a journey filled with endless snowy adventures, all thanks to your own “snow globe craft for kids.”
So, have fun crafting, and may your snow globes bring joy and wonder to your home, all year round!


